Painting a Bathroom Ceiling — Which Paint and How to Avoid Mould?
Steam, stains and mould — a bathroom ceiling has it hardest. We explain which paint to choose and how to prepare and paint the ceiling step by step so it looks good for long.
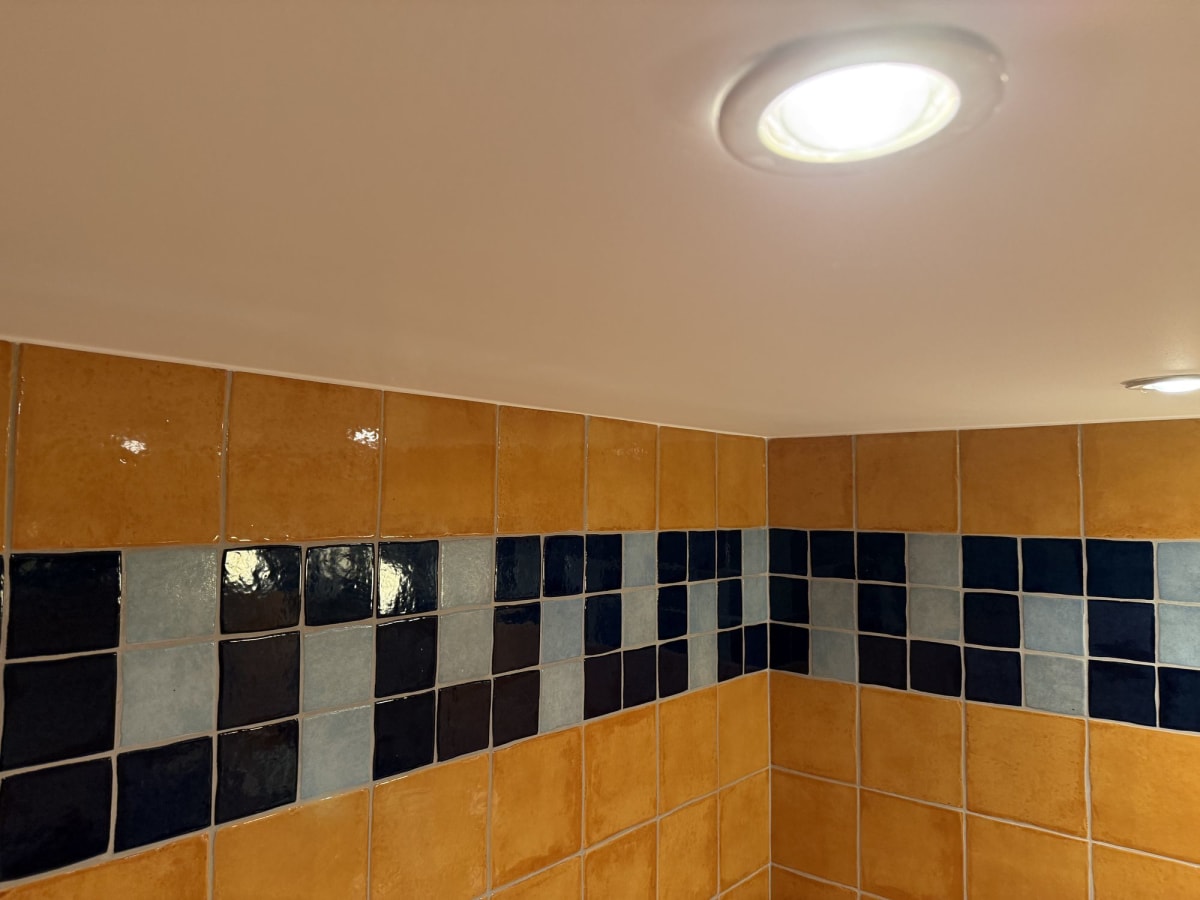
The bathroom ceiling works in the toughest conditions in the whole home: steam from the shower rises straight to it, and ventilation in older apartment blocks and tenement buildings is often inadequate. The result? Yellow stains, peeling paint and black spots of mould. Below we explain which paint to choose and how to paint a bathroom ceiling step by step so that it lasts for years.
Why does a bathroom ceiling deteriorate faster than one in a living room?
The main cause is moisture condensing on the cooler surface of the ceiling slab. Add poor ventilation and water stays in the pores of the paint and substrate, creating ideal conditions for fungi. The second reason is ordinary emulsion paint meant for living rooms, which has no water-repellent or antifungal additives. The third is skipping substrate preparation — painting over an old, blistered coat ends with the new layer falling off.
Which paint for a bathroom ceiling?
Look for products marked for kitchens and bathrooms. Usually these are:
- latex and acrylic paints — they repel water well and can be gently wiped,
- silicone and ceramic paints — very moisture-resistant yet vapour-permeable,
- paints with antifungal additives — they limit mould growth on the surface.
For ceilings, choose a matt or deep matt finish. Glossy paint accentuates every unevenness and roller streak, and on a ceiling lit by spotlights this is especially visible. Colour: white or very light shades — they visually enlarge the room and do not create sharp contrasts against grout and tiles.
Preparing the ceiling — half the success
1. Protecting the bathroom
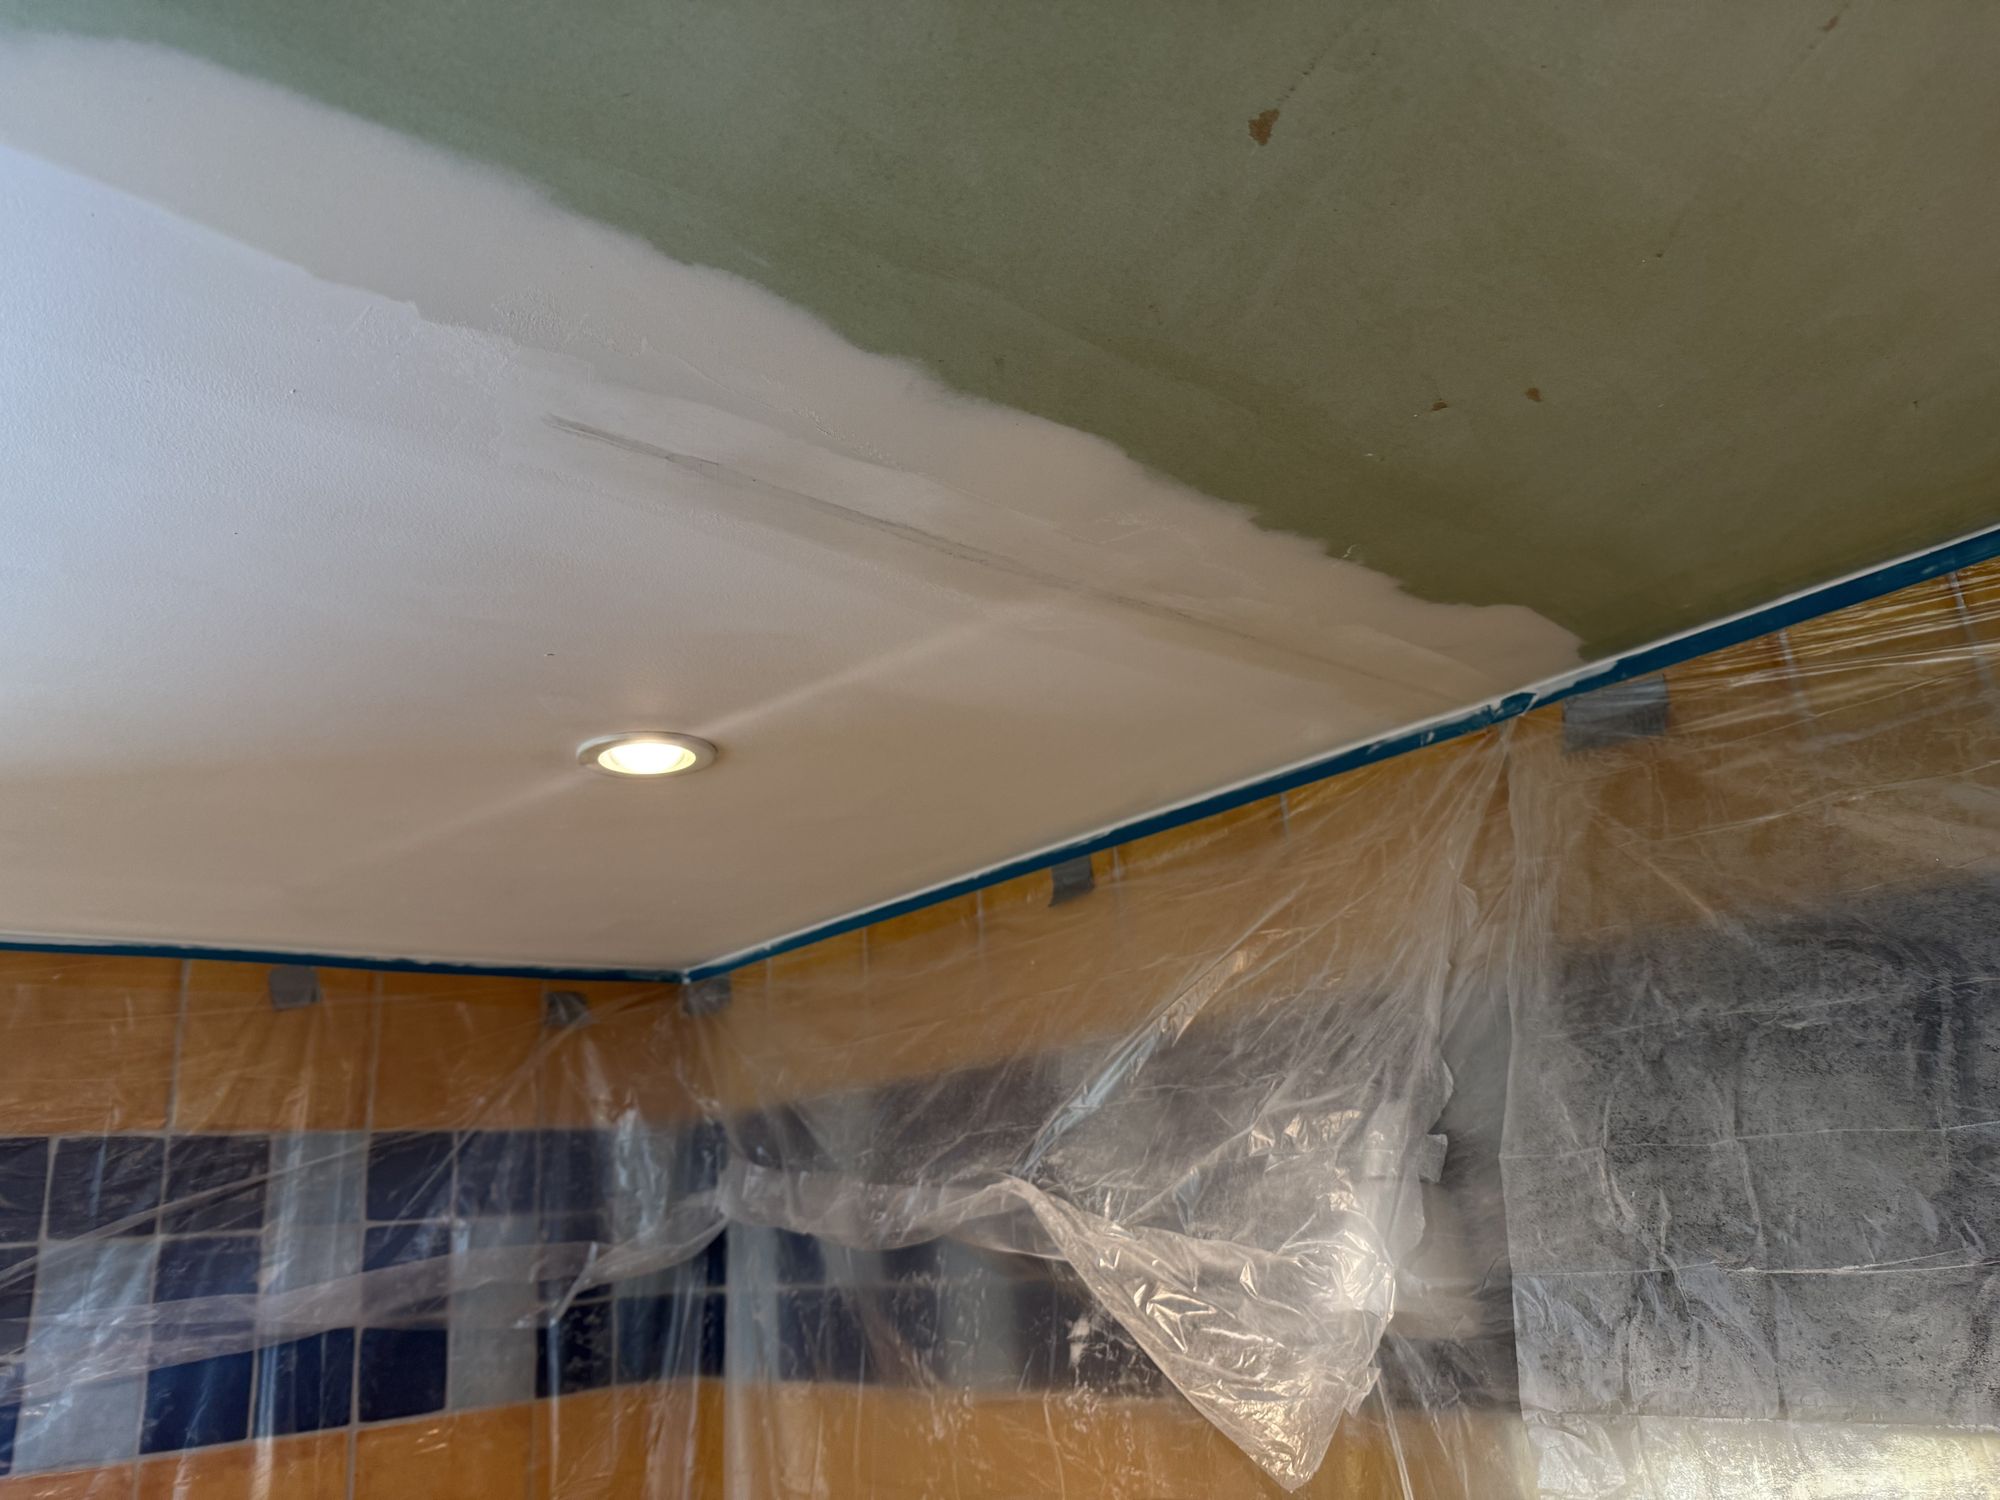
Before we start, we cover tiles, fittings, the shower enclosure and the floor with painter's film, and tape the edges along the tiles. Lamps and the fan are best removed or covered. Good protection saves a long clean-up later. We also wrote about how important this stage is in a separate guide.
2. Assessing the old coating
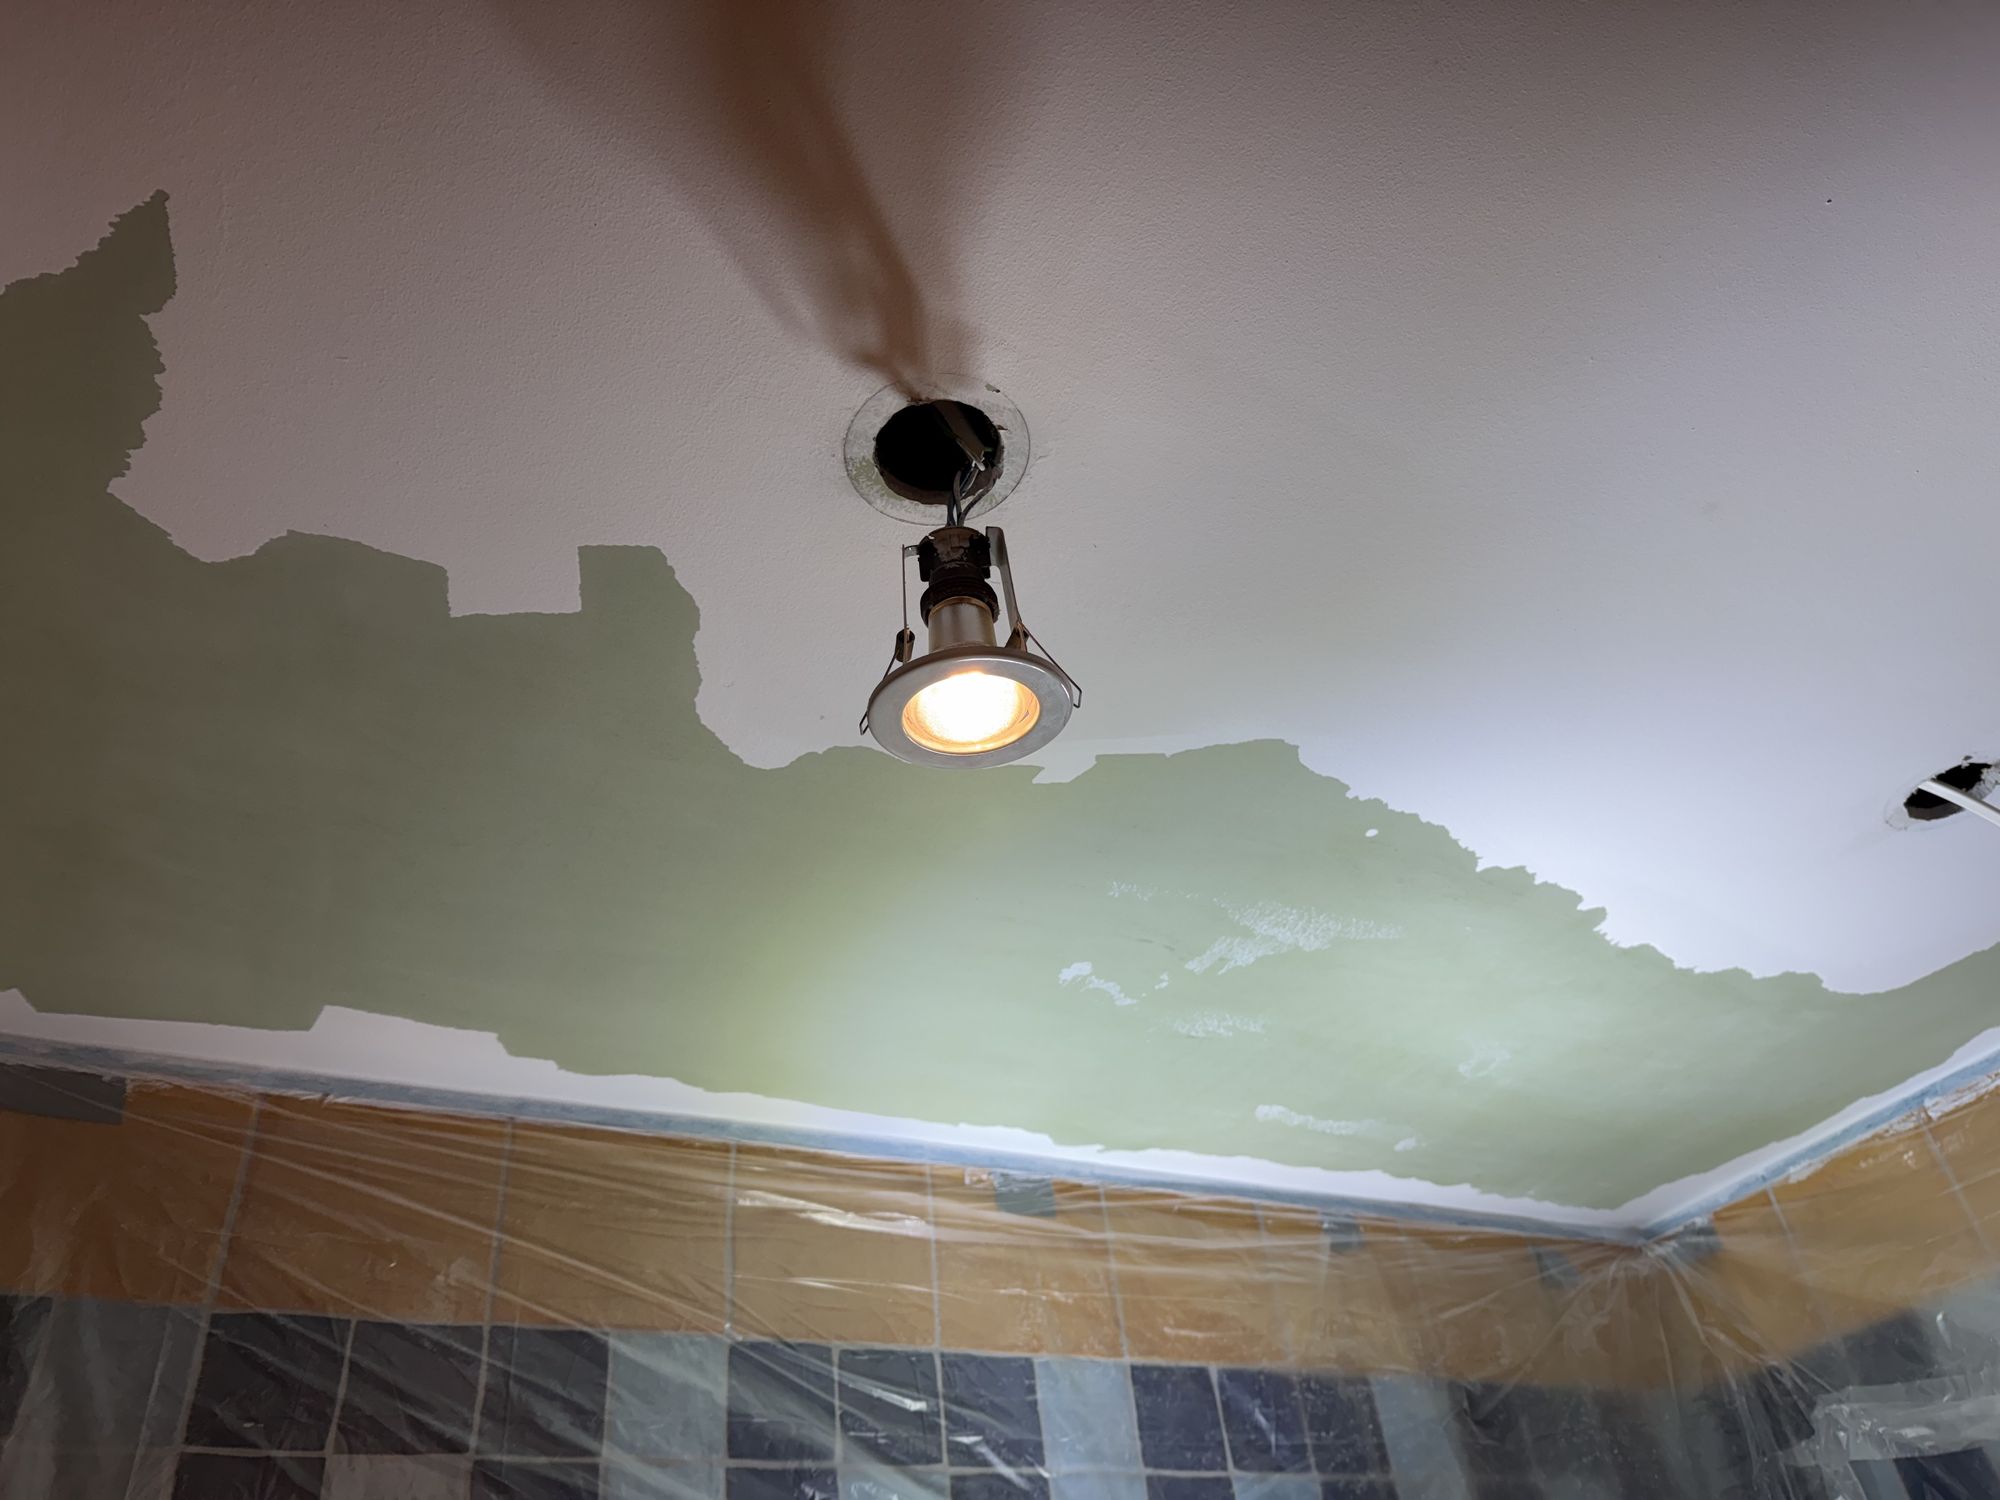
We check whether the paint holds. If it flakes, blisters or chalks on your finger, it must be removed with a scraper or brush down to a stable substrate. Stains from leaks and mouldy spots are degreased and washed with an antifungal agent, then dried thoroughly. If stains appeared after a neighbour's leak, the cause must be fixed first and only then painted — otherwise the stain returns.
3. Filling and sanding
Gaps, cracks and joints are filled with a moisture-resistant skim coat, then sanded and dusted once dry. On ceilings lit from the side, especially with recessed fittings, every unevenness will show — it is worth spending time here.
4. Priming
Primer evens out the absorbency of the substrate and improves adhesion. In a bathroom we use a primer designed for damp rooms, preferably with an antifungal additive. Apply with a roller and wait until fully dry according to the product data sheet.
Painting step by step
- Conditions: a ventilated bathroom, no hot showers for several hours before work and while drying. Temperature and humidity should be within the range given by the paint manufacturer.
- Edges: first, “cut in” the corners and areas around lamps with a brush or small roller.
- First coat: with a short-pile roller, in one direction, from the window towards the door (parallel to incoming light), covering the whole surface without breaks to avoid lap marks.
- Second coat: after the drying time stated by the manufacturer, apply the second one perpendicular to the first. Two coats is the minimum.
- Removing the tape: peel the tape while the paint is still slightly wet, at an angle and slowly — the edge then stays sharp.
Most common mistakes when painting a bathroom ceiling
- Painting on a damp substrate — the paint does not adhere and mould develops underneath.
- Skipping primer — the ceiling absorbs unevenly and patches appear.
- Ordinary living-room paint — after a few months it yellows and swells.
- Too short drying time between coats — layers curl and streaks appear.
- No ventilation after the renovation — even the best paint will not help if steam has nowhere to go. It is worth checking the vent grille and, if needed, fitting a quiet fan with a humidity sensor.
Mould on the ceiling — is painting over it enough?
No. Painting over mould with ordinary paint is one of the most common mistakes: the fungus keeps growing under the coat and breaks through as patches after a few weeks. The correct order is: scrape off the infected paint, wash the surface with a fungicide following the instructions (wearing gloves and with the window open), wait until completely dry, prime with an antifungal primer and only then paint. If mould returns in the same spot despite ventilation, the cause may be a thermal bridge, a leaking installation or a leak from above — then painting alone will not solve the problem and the source of moisture must be found. It is also worth knowing that the ceiling above a shower enclosure wears out faster than the rest, so that is where the first changes usually show. If you are planning to renovate the whole bathroom, we always paint the ceiling at the end of the wet and dirty work, but before the final installation of lamps and fittings, so as not to damage the fresh coat.
How to care for a painted ceiling
After renovation, ventilation matters most: after a bath, leave the door or window ajar, run the fan, and do not dry towels in a closed room. Stains can be gently wiped with a damp sponge and mild detergent — latex and acrylic paints tolerate this. When the first traces of mould appear years later, react immediately, before it spreads.
When is it worth hiring professionals?
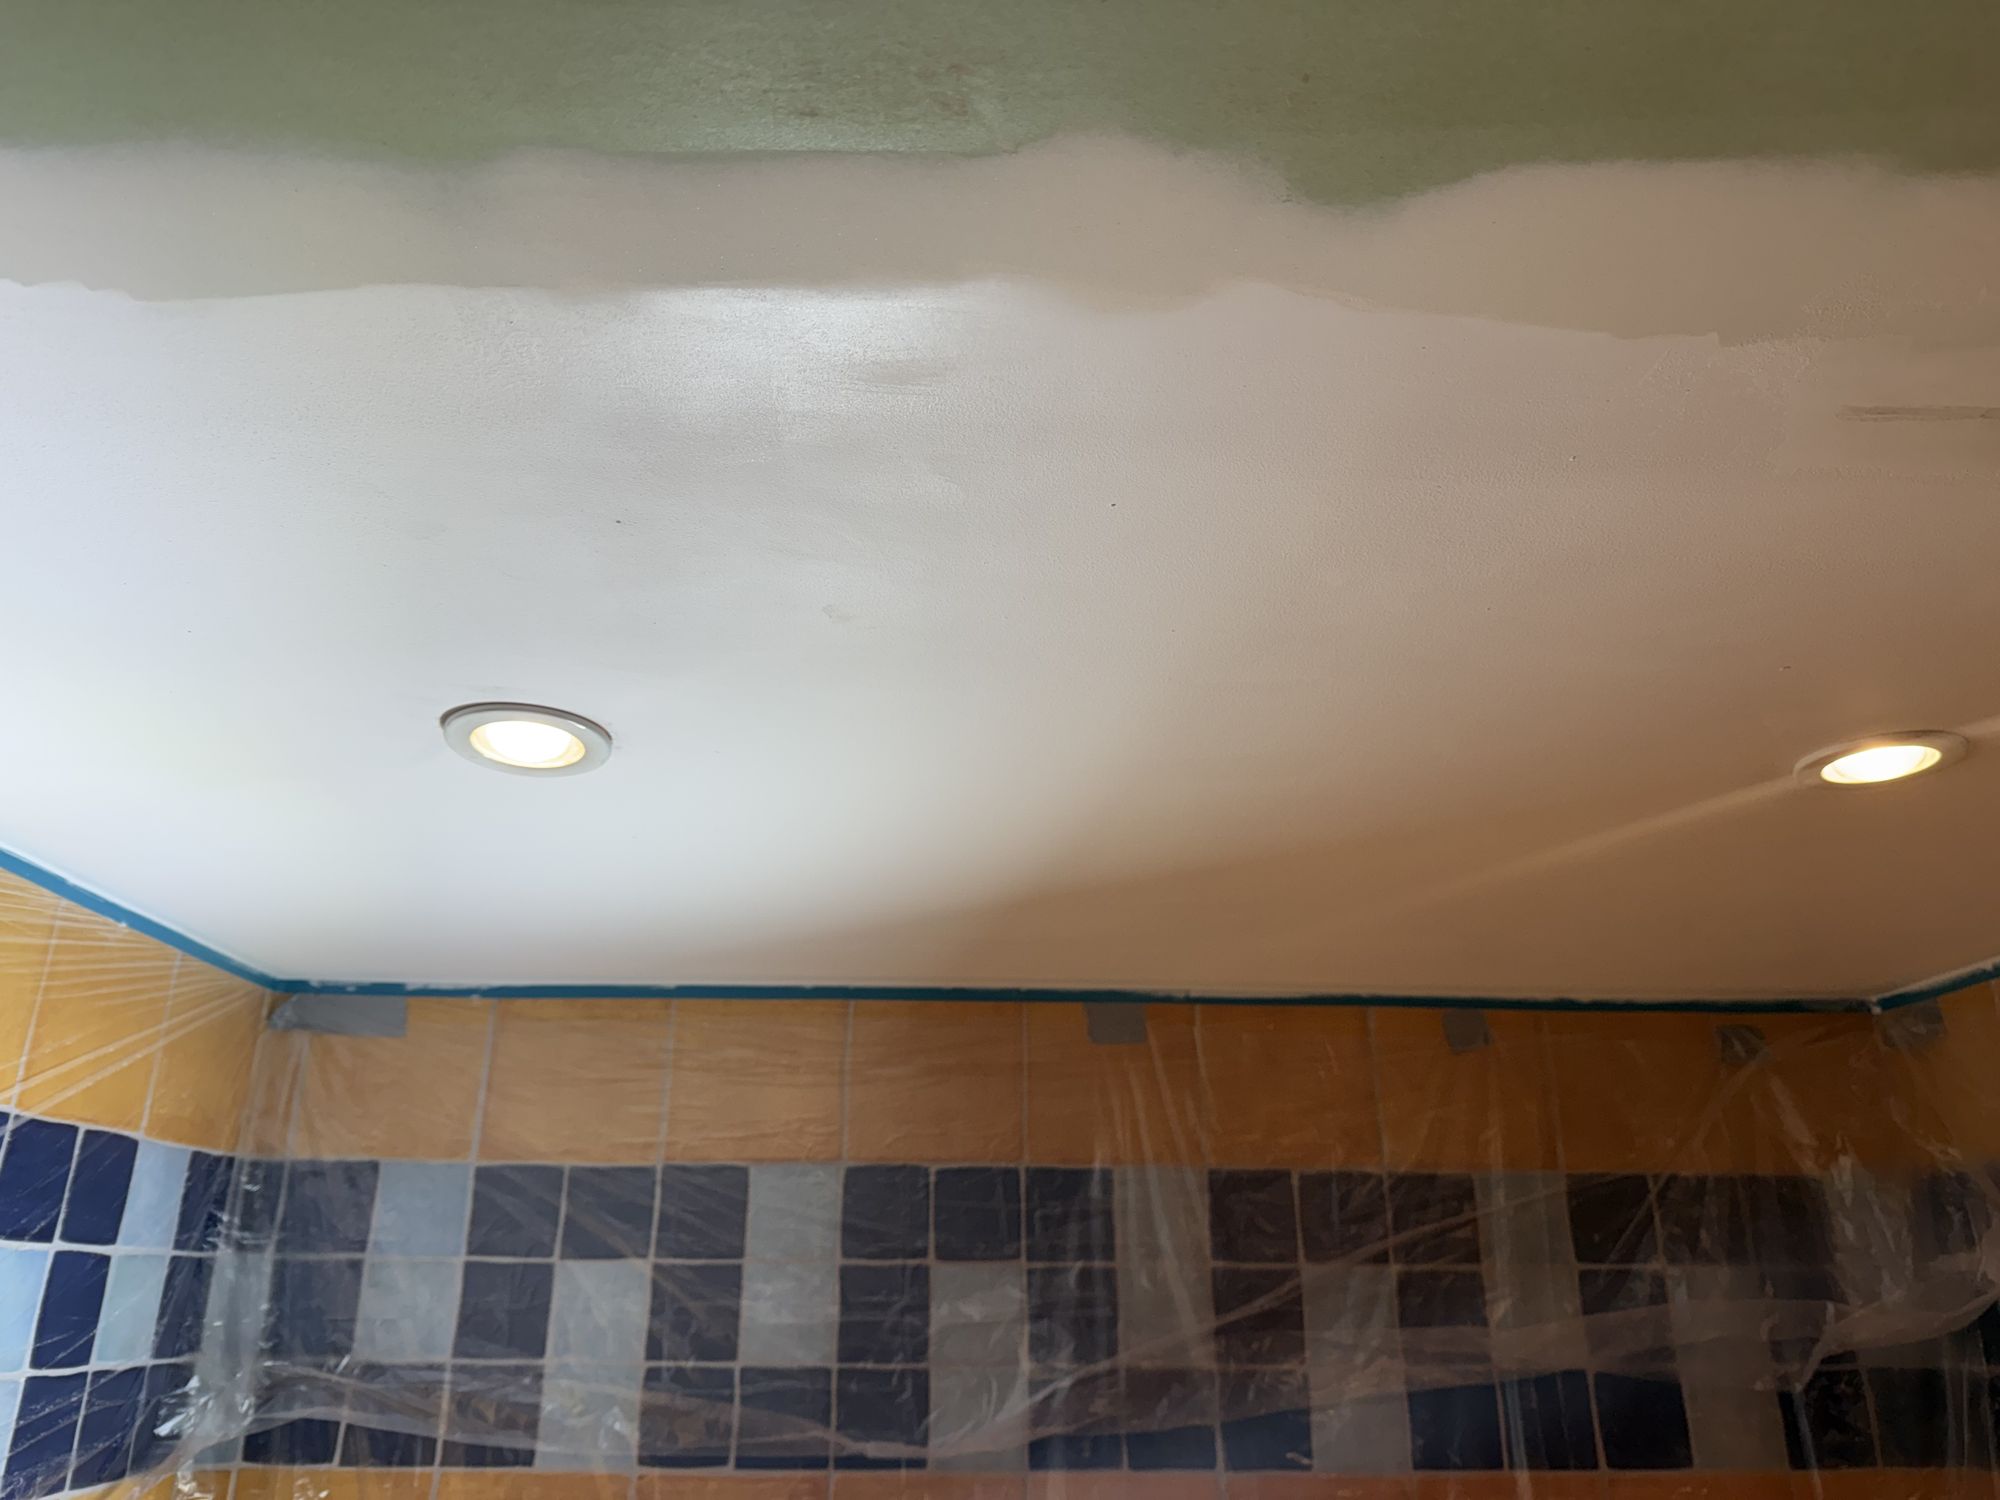
A ceiling is the hardest surface to paint: working overhead, light from lamps exposing every flaw, and a bathroom that requires careful protection of tiles and fittings. If the ceiling has extensive stains, a detached coating or mould, it is better to have an experienced painter assess the substrate. The photos in this post show stages of painting a bathroom ceiling from our projects: protected tiles, taped edges and a ceiling being refreshed.
Planning to refresh your bathroom or apartment? We will gladly assess the ceiling on site — book a free quote or see our services.