How to Hang Wallpaper on a Wall — Step-by-Step Guide and Common Mistakes
How to prepare the wall, which wallpaper to choose and how to match the pattern at the seams? A practical guide with an example from our living room job.
A single wallpapered wall can completely change a room — provided it is hung properly. The questions we hear most often are: how to prepare the wall, which wallpaper to choose and how to avoid visible seams and bubbles. In this guide we explain it step by step, using a patterned wallpaper where the hardest part is matching the motif across the seams.
Which wallpaper to choose for a living room?
For living spaces, non-woven backed wallpaper is the easiest to install. Non-woven material is dimensionally stable, does not stretch when wet, and the paste goes on the wall only, not on the wallpaper. This lets you place the strip straight away and adjust its position.
- Non-woven wallpaper — the easiest to hang, good for living rooms and bedrooms, usually removable "dry" without scraping.
- Vinyl wallpaper on a non-woven base — more resistant to moisture and abrasion, suitable for kitchens and hallways.
- Paper wallpaper — requires soaking time after pasting and is more temperamental; better left to a professional.
- Murals and panoramic wallpaper — one large motif spread over several strips, where every matching error is immediately visible.
How to prepare the wall for wallpaper
A smooth substrate is half the success. Wallpaper, especially a light one or one with a dark, high-contrast pattern, will reveal every bump, crack and stain. Preparation looks like this:
- Protecting the room. Move or cover the furniture, protect the floor, and unscrew or tape over sockets and switches.
- Removing old coatings. Flaking paint, old wallpaper and loose plaster must go. New wallpaper cannot hold on to something that is itself falling off the wall.
- Repairing and skim-coating. We fill holes from plugs, grooves and cracks, then sand smooth once dry. Dust is removed thoroughly.
- Priming. Primer evens out the absorbency of the substrate and improves adhesion. The wall should be dry, clean and uniformly absorbent over its entire surface.
- Evening out the colour. If the substrate is dark, patchy or shows visible repair marks, it is worth painting it a light colour first, especially under a light-background wallpaper.
An example from our work: a living room wall
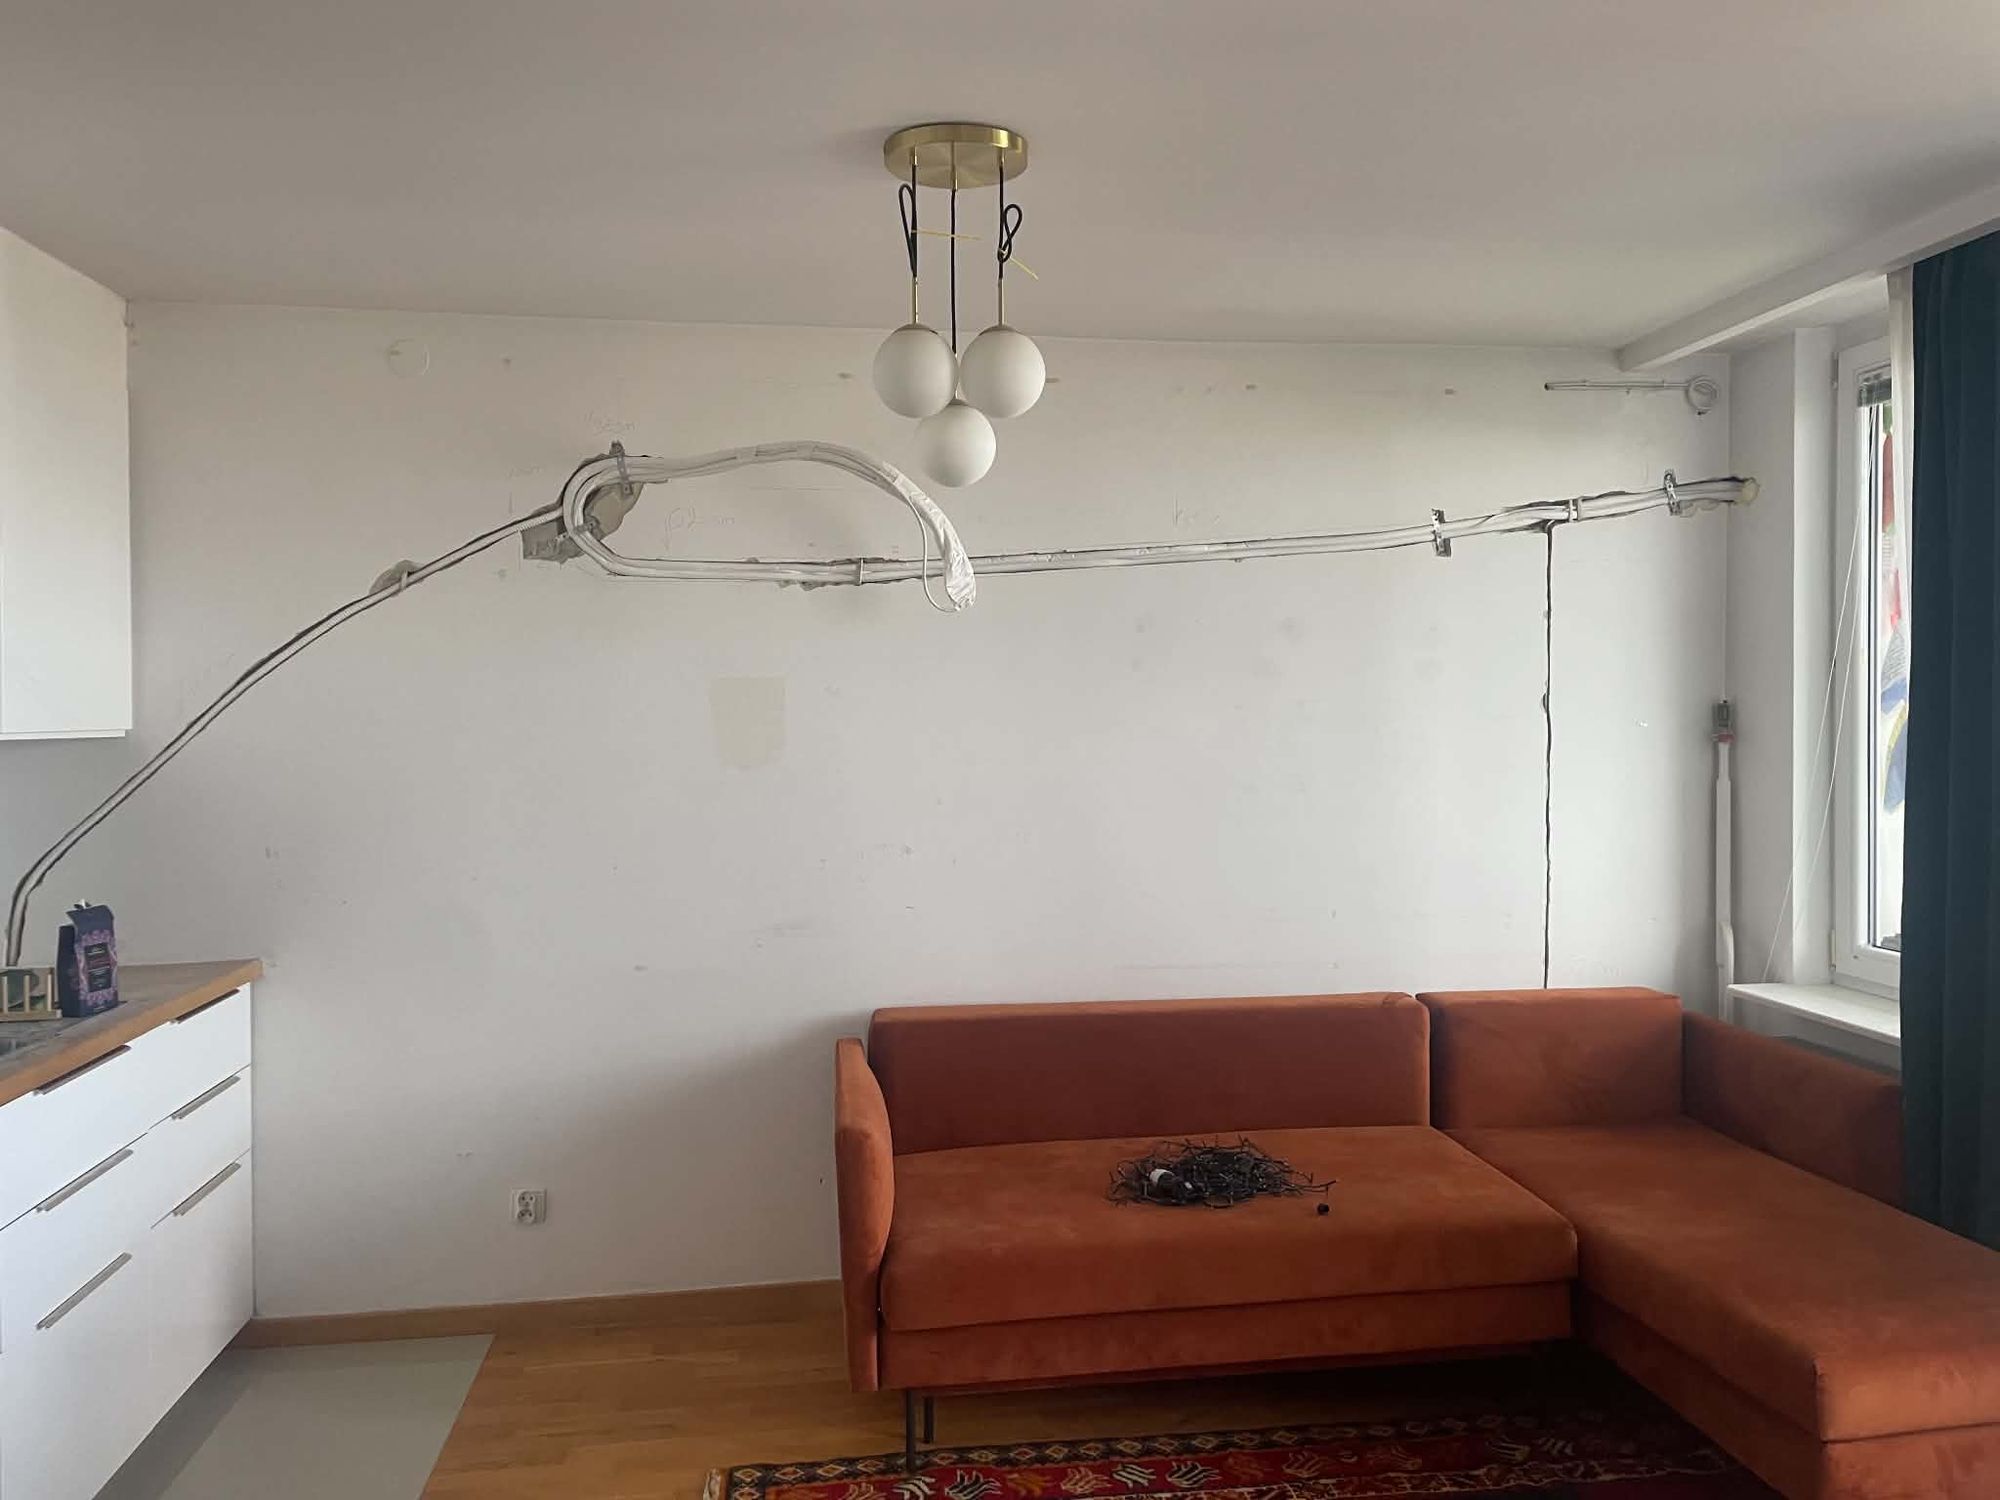
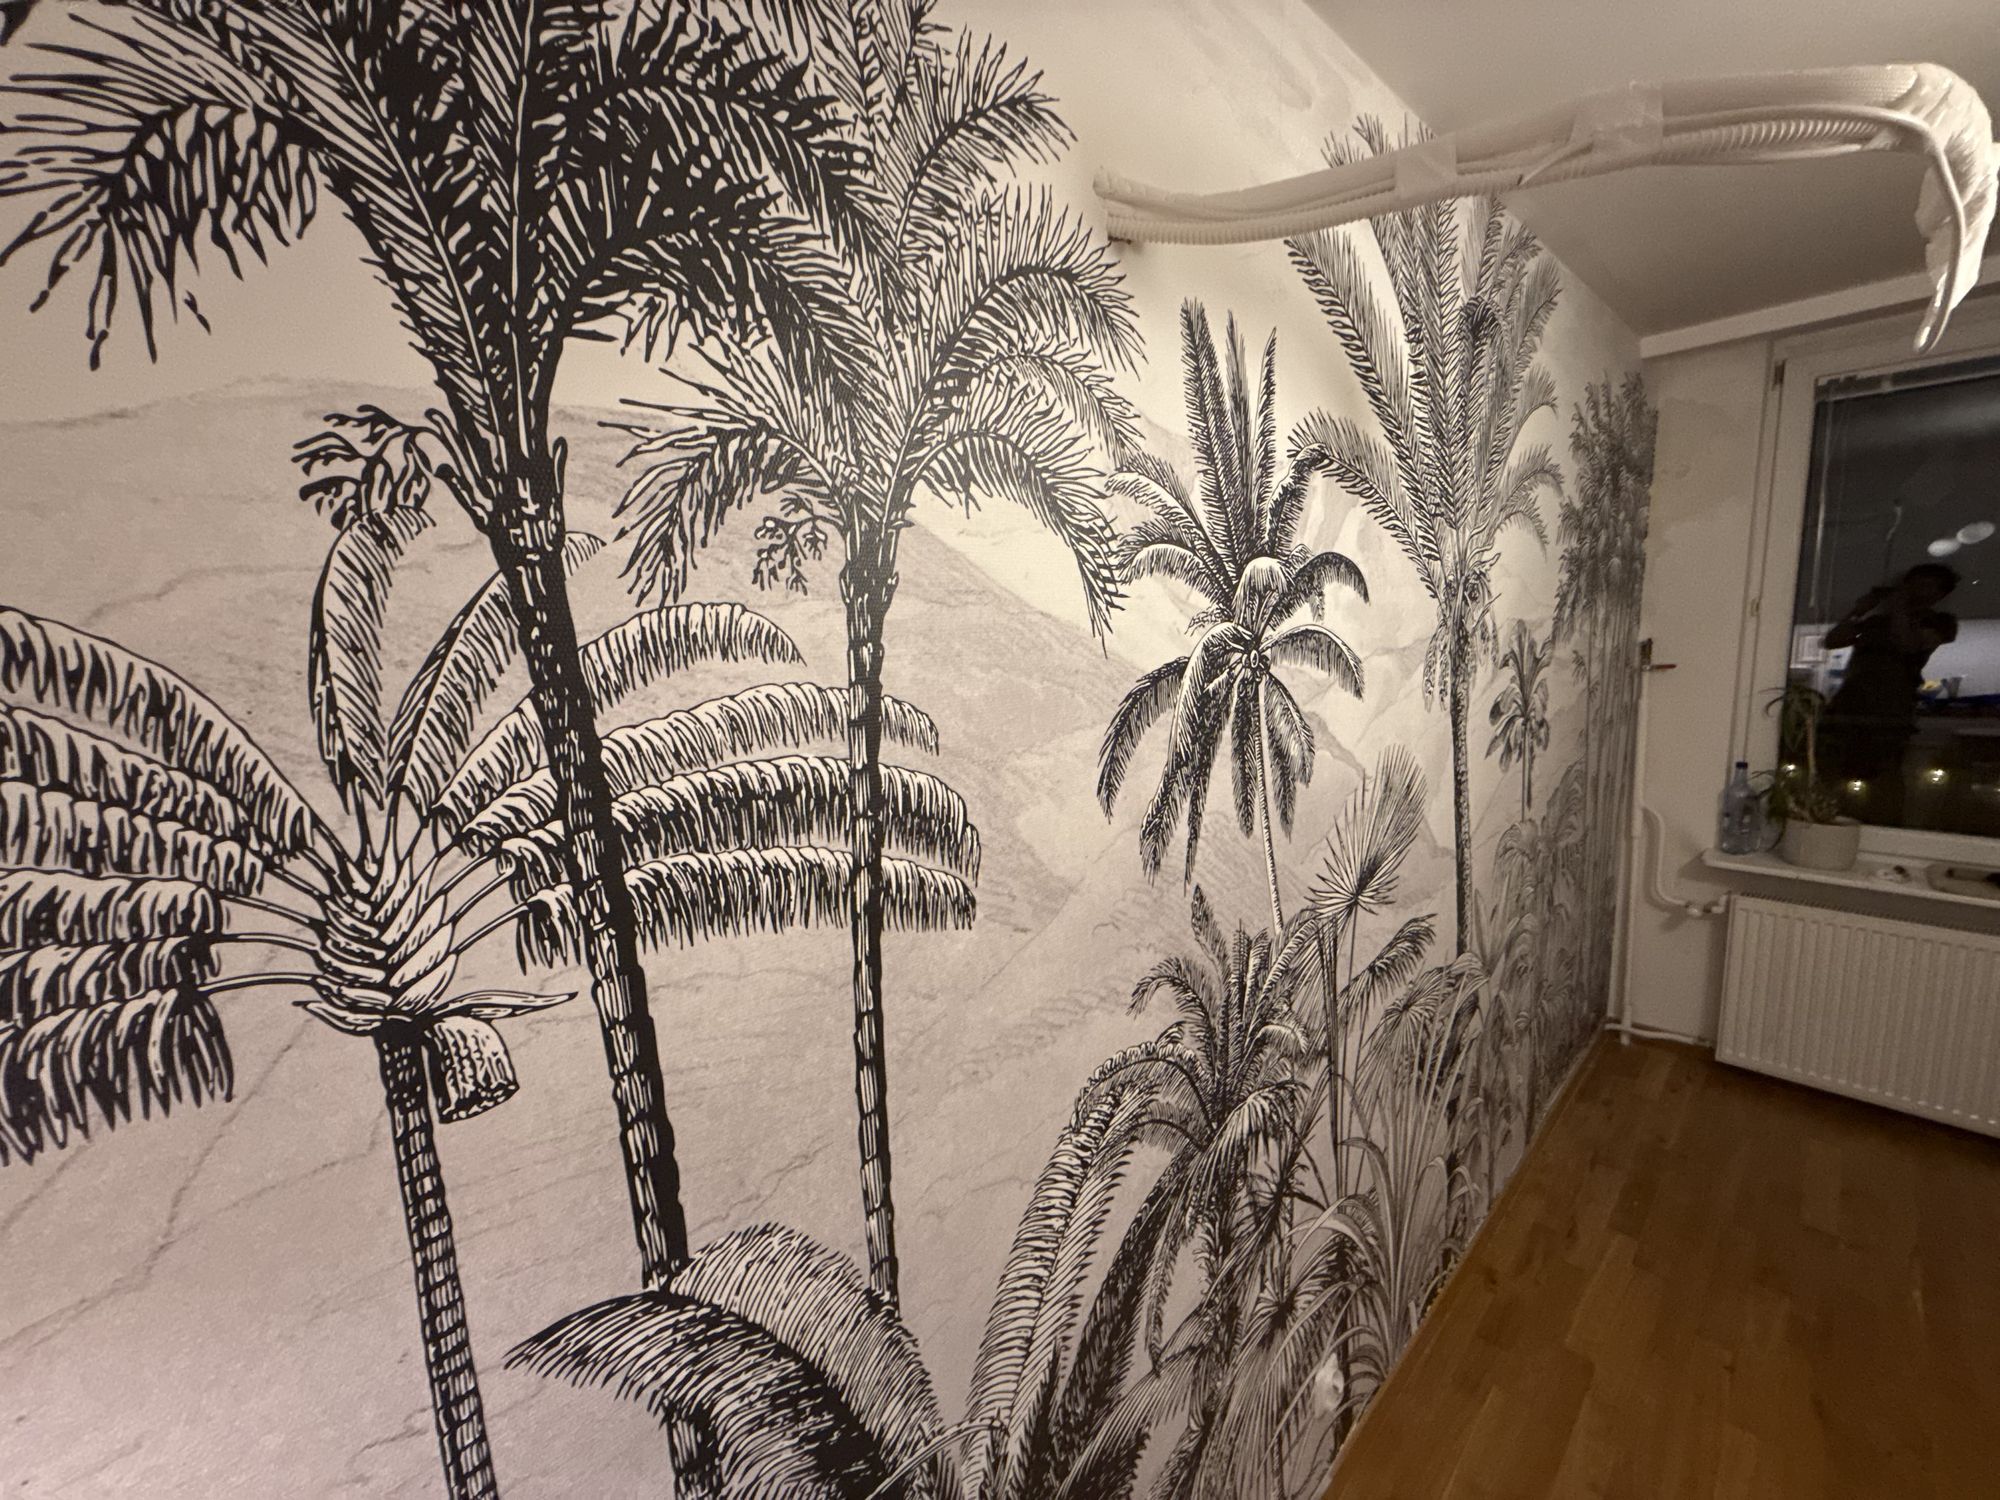
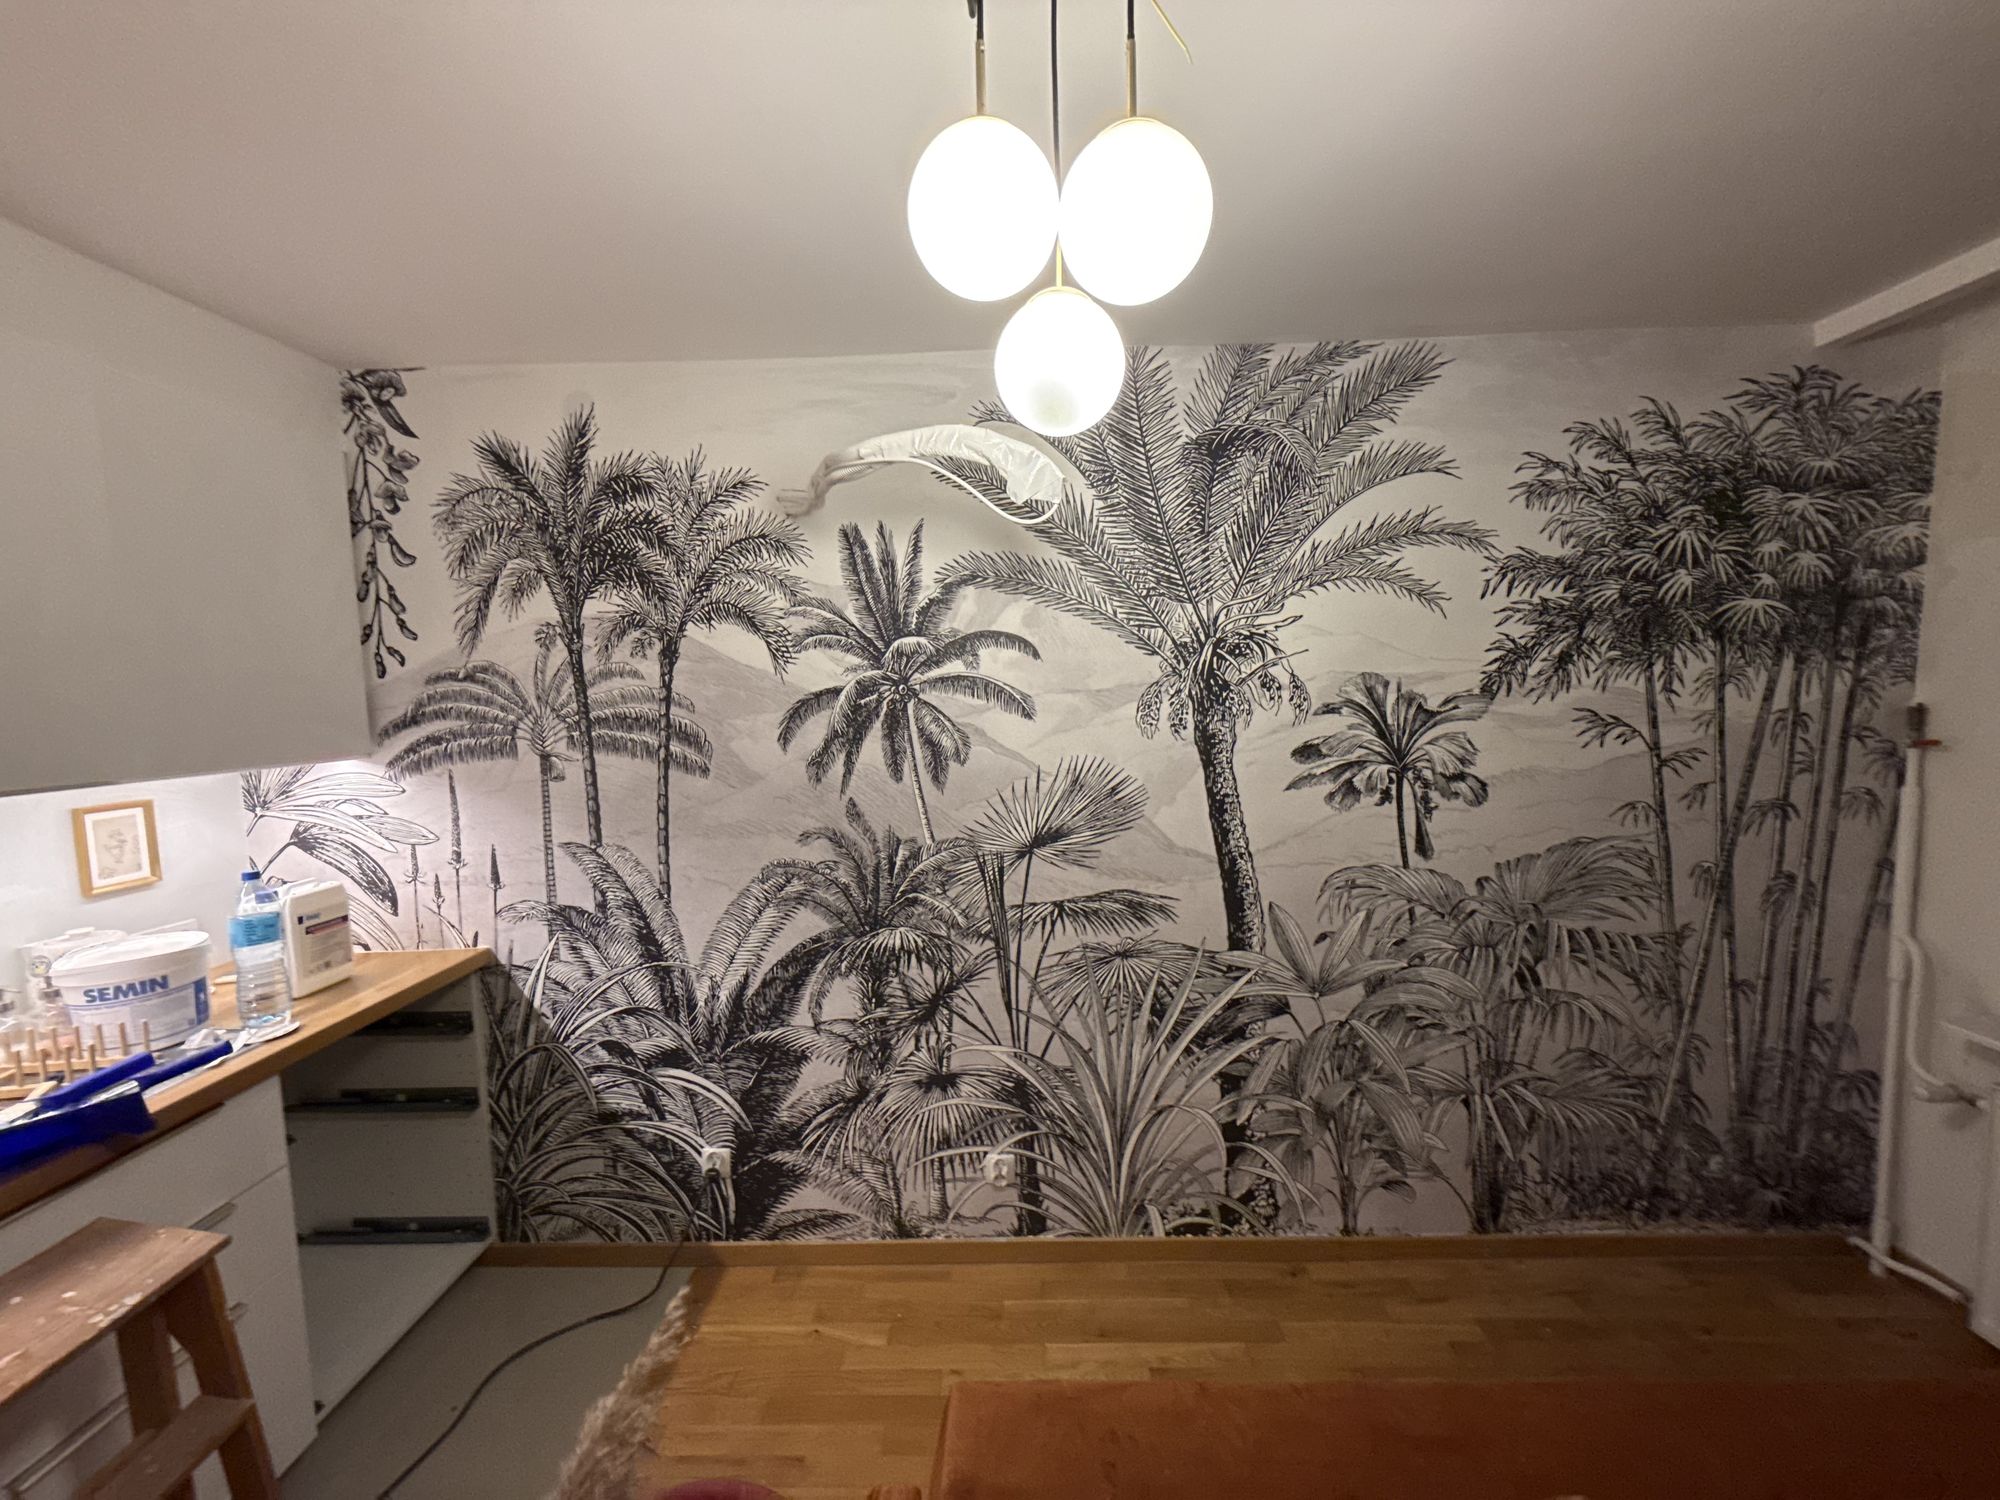
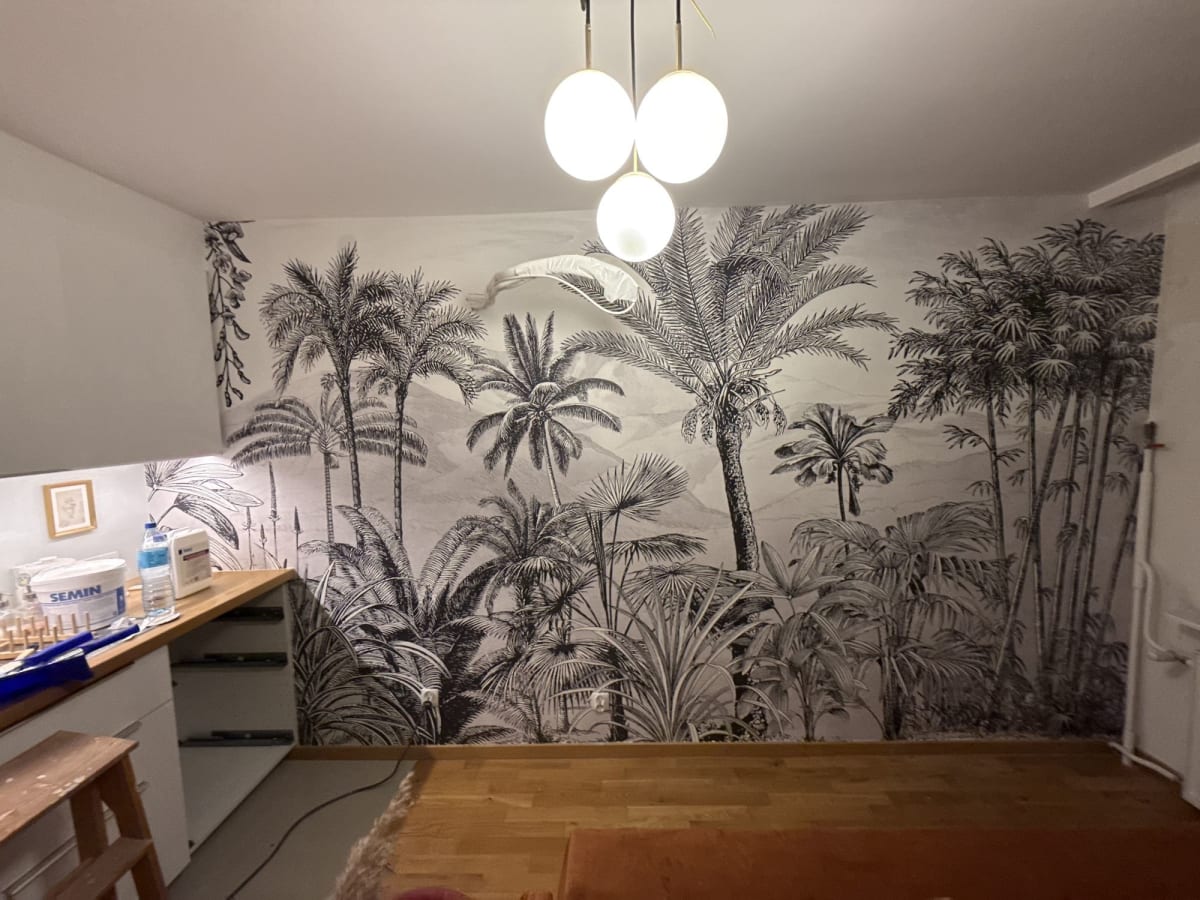
One of our recent jobs was a living room with a kitchenette, where one wall — smooth, white, with a cable running under the ceiling — was to become the main accent of the interior. The chosen wallpaper shows black-and-white palms, so the motif spans the full height of the wall and runs across many strips. The "before" photos show a plain, even wall, and the "after" ones a completely different character of the room. Such a result is possible only with careful substrate preparation and precise pattern matching.
How to hang wallpaper step by step
1. Planning the first strip
We do not start from a corner — walls and corners are rarely perfectly vertical. We mark a plumb line with a level or laser and run the first strip along it. For motif wallpapers we decide where the key element should fall, for example the crown of the biggest palm, so that it is not cut by a corner or a window.
2. Cutting strips with an allowance
We cut each strip with a few centimetres extra at the top and bottom. For patterns with an offset (the so-called pattern repeat, given on the label) we lay the strips side by side before cutting and number them so the order is not mixed up.
3. Applying the paste
For non-woven wallpapers we use paste designed for them and roll it onto the wall, slightly wider than the strip. In hard-to-reach places, near skirting and corners, a brush helps. The paste must be applied evenly, with no dry spots, because the wallpaper will lift there.
4. Placing and pressing
We place the strip from the top, align it with the plumb line, then press with a brush or roller from the centre towards the edges, pushing out air and excess paste. The next strip is butted against the previous one — no overlap — and we check that the motif matches. Pulling too hard causes gaps once dry, too loosely — overlapping strips.
5. Trimming and finishing
Excess at the ceiling and floor is cut with a sharp snap-off knife guided along a steel rule. We change the blade often, because a dull knife tears the wallpaper. Openings at sockets and switches are cut only after the paste has dried, and the fittings are then refitted.
The most common wallpapering mistakes
- No primer or an uneven substrate — results in stains, bubbles and peeling.
- Starting from a corner without marking a plumb line — the pattern "drifts" after a few strips.
- Too little paste at the edges — the strip edges lift.
- A dull knife — frayed edges at the ceiling and skirting.
- Moisture and draughts while drying — the wallpaper dries unevenly; during that time keep windows closed and avoid intense heating.
- Skipping the pattern check — before pasting each strip, check that the next portions of the pattern match.
Caring for wallpaper after installation
For the first few days after hanging, ventilate the room gently, without strong draughts, and do not speed up drying with a radiator or hairdryer. Remove dust with a soft cloth or a vacuum with a brush, and stains with a slightly damp sponge, after testing in an inconspicuous spot that the pattern is water-resistant. It is worth keeping a few offcuts from the same batch for minor repairs. When buying, also add about 10 percent extra to the order for trimming and pattern matching, because with large motifs the waste is greater than with plain wallpapers.
Is it worth hiring a professional?
Plain wallpaper in a small room can be hung by yourself. With large patterned motifs, tall walls, murals and a difficult substrate, mistakes can be costly, because decorative wallpaper cannot easily be replaced with another roll from the same batch. A professional knows how to prepare the wall, measure the pattern and work so that the seams are practically invisible.
Planning to wallpaper a living room, bedroom or hallway? Book a free quote or see our services — we are happy to advise on choosing the wallpaper and preparing the wall.